Your Roomba‘s charging status might seem like a small detail, but knowing when it’s actually plugged in and drawing power, versus just sitting on the dock, can save you from empty-battery surprises mid-week. Unlike a phone charging cable you can see glowing, a robot vacuum communicates through a combination of lights, sounds, and app notifications that aren’t always obvious at first glance. Whether your model is a newer intelligent unit or an older workhorse, understanding these signals means you’ll catch problems before your floors go unclean. This guide walks you through every way to confirm your Roomba is charging and what to do when something seems off.
Table of Contents
ToggleKey Takeaways
- A solid green or blue light on your Roomba’s dock or vacuum body indicates active charging, while orange/amber means it’s docked but idle, and red signals an error that needs attention.
- Clean charging contacts monthly using a dry cloth, as dust, hair, and pet dander are the top reason Roomba won’t charge properly.
- Check the Roomba app to monitor real-time charging status, battery percentage, and historical trends without leaving home, especially to detect early battery degradation.
- Ensure your Roomba is centered and pushed fully back on the dock with proper contact alignment, and verify the dock’s power adapter is plugged into a working outlet.
- If your Roomba is 3 to 5 years old and won’t hold a charge, battery replacement is usually the solution and takes just 10 to 15 minutes to install.
- Store your Roomba at 50 percent charge during long-term storage and keep the dock in a stable, climate-controlled location away from extreme temperatures and moisture.
Visual Light Indicators On Your Roomba
The most straightforward way to check charging status is to look at the lights on your Roomba‘s dock and vacuum body. Most models have an LED indicator either on the dock itself or on the vacuum’s top plate that changes color based on what’s happening. A solid green or blue light typically signals healthy charging in progress. An orange or amber light often means the vacuum is docked but idle, while a red light or no light at all can indicate a problem.
The dock light works alongside the vacuum’s own status indicator. On newer models like the Roomba j7 and Roomba m6, the light ring around the bumper button displays different colors. When actively charging, you’ll see a steady blue or green glow. This isn’t random, it’s the dock sending power through metal contacts on the vacuum’s undercarriage, and the light confirms that connection is solid.
What Different LED Colors Mean
Most Roomba models follow a consistent color scheme, though exact names vary by model generation. Green or blue light (solid) means charging is active and progressing normally, let it sit for at least 2 to 3 hours for a full charge, or up to 16 hours if it’s completely depleted. Orange or yellow light indicates the dock is connected but not currently charging: this often appears when the battery is already full or when there’s a minor connectivity hiccup. Red light or blinking red signals an error, either a dustbin that needs emptying, a wheel jam, or poor dock contact. No light at all suggests the dock isn’t receiving power or the vacuum isn’t properly seated on the dock contacts.
Checking the light takes five seconds and costs you nothing. Make it a habit when you send your Roomba to the dock for a scheduled clean or overnight charge.
Checking The Dock Connection
Visual indicators only tell half the story. The physical connection between your vacuum and dock is what actually transfers power, so you need to verify the vacuum is seated correctly. Start by looking at the dock’s charging contacts, these are the two metal pads on the dock’s top surface. They should be clean and free of dust or pet hair debris.
Gently lift your Roomba off the dock and inspect both the dock contacts and the corresponding contact points on the vacuum’s underside. Wipe both sets with a dry, lint-free cloth or a slightly dampened microfiber cloth if they’re visibly dusty. Any buildup breaks the electrical connection and prevents charging even if the lights suggest everything is fine. This is the most common culprit behind “Roomba won’t charge” complaints.
When you place the vacuum back on the dock, make sure it’s centered and pushed all the way back. The rear bumper should nestle into the dock’s rear guides, and the vacuum shouldn’t wobble or shift. Some docks have a slight incline to guide the vacuum back automatically, if yours doesn’t, you may need to position it by hand. Listen for a soft click or feel for a slight resistance that indicates the contacts have engaged. If you’ve cleaned the contacts and repositioned the vacuum and the light still won’t turn green, the dock’s power adapter might be faulty or the vacuum’s charging circuit could need service.
Using The Roomba App To Monitor Charging Status
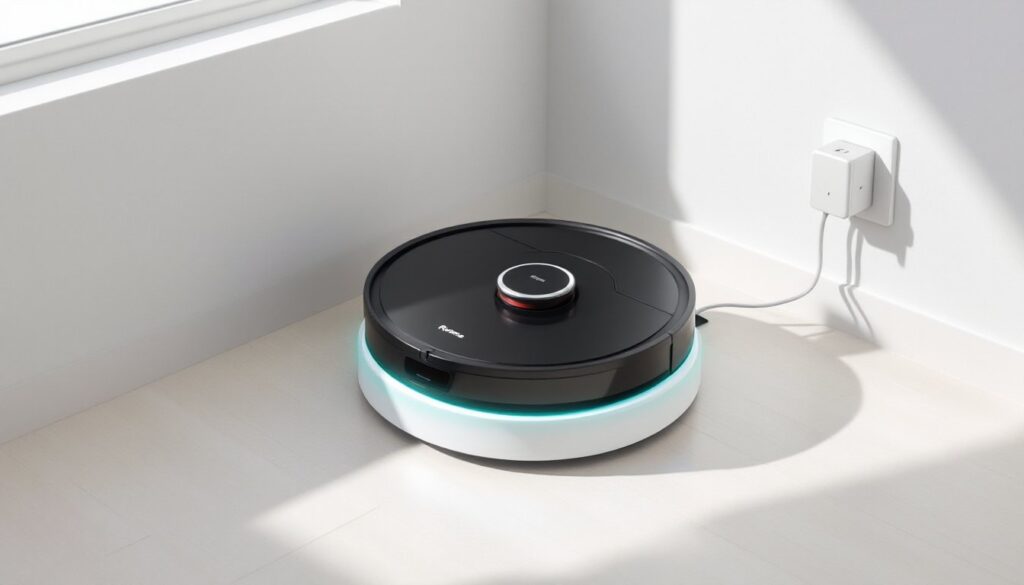
If you’re away from home or prefer a digital check, the Roomba app (available on iOS and Android) provides detailed charging information without stepping near the dock. Open the app and navigate to the home screen or device dashboard. You’ll see a battery percentage displayed prominently, usually with a visual indicator like a battery icon that fills as charge increases.
The app also shows whether the vacuum is currently docked, charging, idle, or in an error state. When actively charging, the status typically reads “Charging” or “Docking,” sometimes with a time estimate for when the battery will reach 100 percent. If the app shows your Roomba as “Idle” even though being on the dock, the contacts may not be making good electrical contact, or the dock power adapter isn’t plugged in.
Beyond basic charging status, the app logs charging history and battery health trends over time. If you notice the battery percentage dropping unusually fast after a charge, or if the estimated runtime is shrinking even though the vacuum reaching 100 percent, the battery itself may be aging and approaching replacement. Many newer Roomba models will alert you in the app when battery health dips below a certain threshold, making it easy to order a replacement before your vacuum becomes unreliable.
Troubleshooting Charging Problems
Even with proper dock placement and clean contacts, charging problems can arise. The most common issues involve power delivery, dock positioning, or battery degradation. Start by confirming the dock’s power adapter is plugged into a working outlet and that the adapter’s light (if it has one) is illuminated. A dead outlet or tripped circuit breaker cuts power before it ever reaches your Roomba.
Next, move the dock away from obstacles that could interfere with the vacuum’s navigation or docking alignment. Roomba models with automatic docking use infrared sensors to locate the dock, so walls, furniture, or clutter within 1.5 feet on either side of the dock can confuse the vacuum. Manual docking works better in a clear, open space.
If the vacuum still won’t charge, perform a soft reset: turn off the vacuum, wait 30 seconds, then turn it back on. For a harder reset, press and hold the Dock button for 10 seconds until you hear two beeps. This clears temporary errors and refreshes the dock communication protocol. Some Roomba models have a battery reset button (usually a small hole under the dustbin) that you can press with a paperclip to restart the battery management circuit.
Common Reasons Your Roomba Won’t Charge
Dirty charging contacts remain the top culprit. Dust, hair, and pet dander accumulate over weeks and block electrical flow. Dock power failure is next, the adapter gets damaged, the outlet loses power, or the dock itself has an internal fault. Poor docking position prevents contact alignment: the vacuum may sit on the dock without the contacts lining up properly. Wheel jams or error states make the vacuum refuse to charge until you clear the error: check the app for specific error codes and clear any tangles from the wheels.
Low battery on very old vacuums sometimes prevents charging because the battery has degraded past recovery. If your Roomba is more than 3 to 5 years old and hasn’t held a charge in months, battery replacement is usually the answer. You can order replacement batteries directly from iRobot or third-party retailers: the process takes 10 to 15 minutes and involves unclipping the battery compartment under the dustbin.
For persistent charging failures after cleaning contacts and resetting the dock, try plugging the dock into a different outlet, or use a power strip with on/off control to fully cycle the dock power. If nothing works, the dock’s internal power supply or the vacuum’s charging circuit may be faulty, warranting professional service or replacement.
Best Practices For Maintaining Your Roomba’s Battery Health
Keeping your Roomba charging smoothly long-term requires minimal maintenance but consistent habits. Clean the charging contacts monthly or whenever you empty the dustbin, depending on how much pet hair and dust your home generates. A simple wipe with a dry cloth takes 30 seconds and prevents the majority of charging headaches.
Allow your Roomba to charge fully after heavy use or before extended storage. Most modern Roomba batteries reach full capacity in 2 to 3 hours under normal conditions, so there’s no harm in leaving the vacuum on the dock overnight. The charging circuit prevents overcharging, so the battery won’t degrade from sitting at 100 percent.
Position your dock in a stable, climate-controlled location away from direct sunlight, moisture, and extreme heat. Batteries perform worse in cold environments and can be damaged by prolonged exposure to humidity. A garage or basement is fine: an unheated shed or damp basement corner is not. Keep the dock outlet accessible and avoid extension cords when possible, direct wall outlet power is more reliable.
If you plan to store your Roomba for more than a month, charge it to 50 percent (not full or empty) and store it indoors at room temperature. Lithium batteries prefer to sit at partial charge during long idle periods. Every two weeks, move the vacuum off the dock and check that the contacts are still clean and the dock hasn’t collected dust around the power adapter.
According to research on Roomba charging systems, most units should charge without issues when contacts are clean and the dock is properly connected. Modern models include battery health diagnostics in the app, so pay attention to battery percentage trends and replace the battery if the vacuum no longer holds a full charge after months of regular use. You can extend battery lifespan significantly by avoiding extreme temperatures and ensuring clean charging contacts at every opportunity.